1. Start in Mills
Sign in at app.agentmills.ai, select your organization, then open Integrations and connect Slack. Choose whether Mills may automatically join public notification channels. With automatic joining disabled, invite Mills to each notification channel yourself.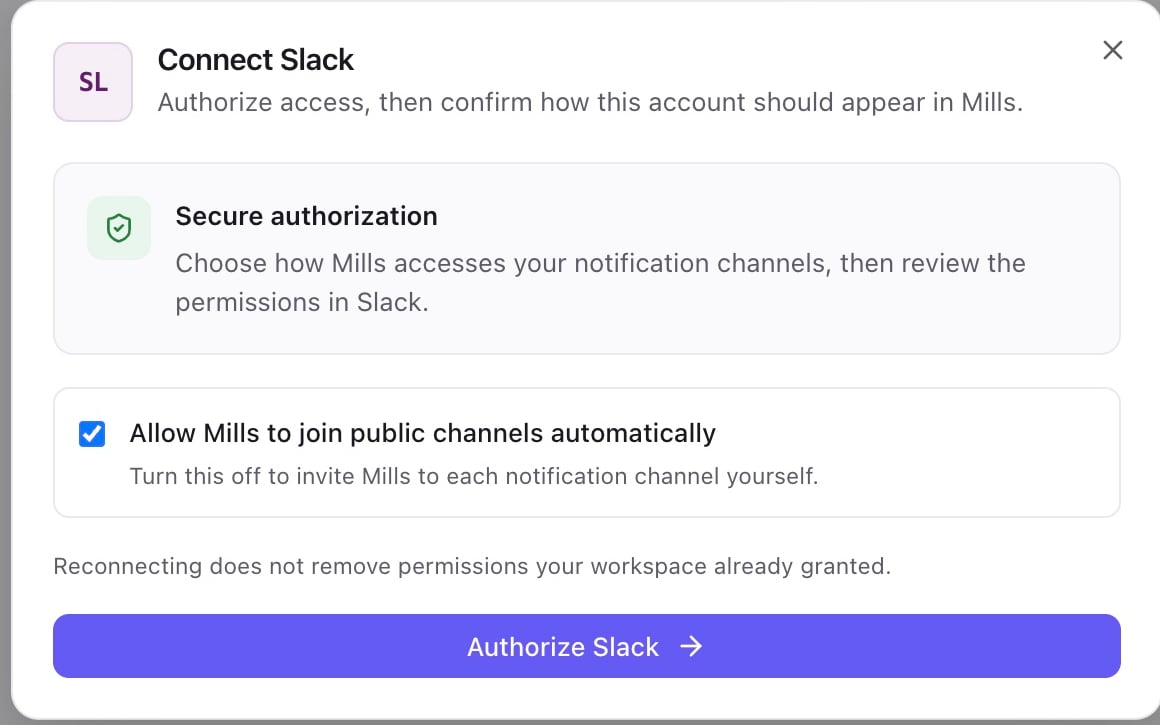
2. Authorize your Slack workspace
Slack opens a consent screen. Select the workspace where you want to install Mills, review the permissions and linked terms, then choose Allow. Return to Mills to finish the connection. The screenshot shows the consent screen for an existing internal installation. Use your own workspace when installing.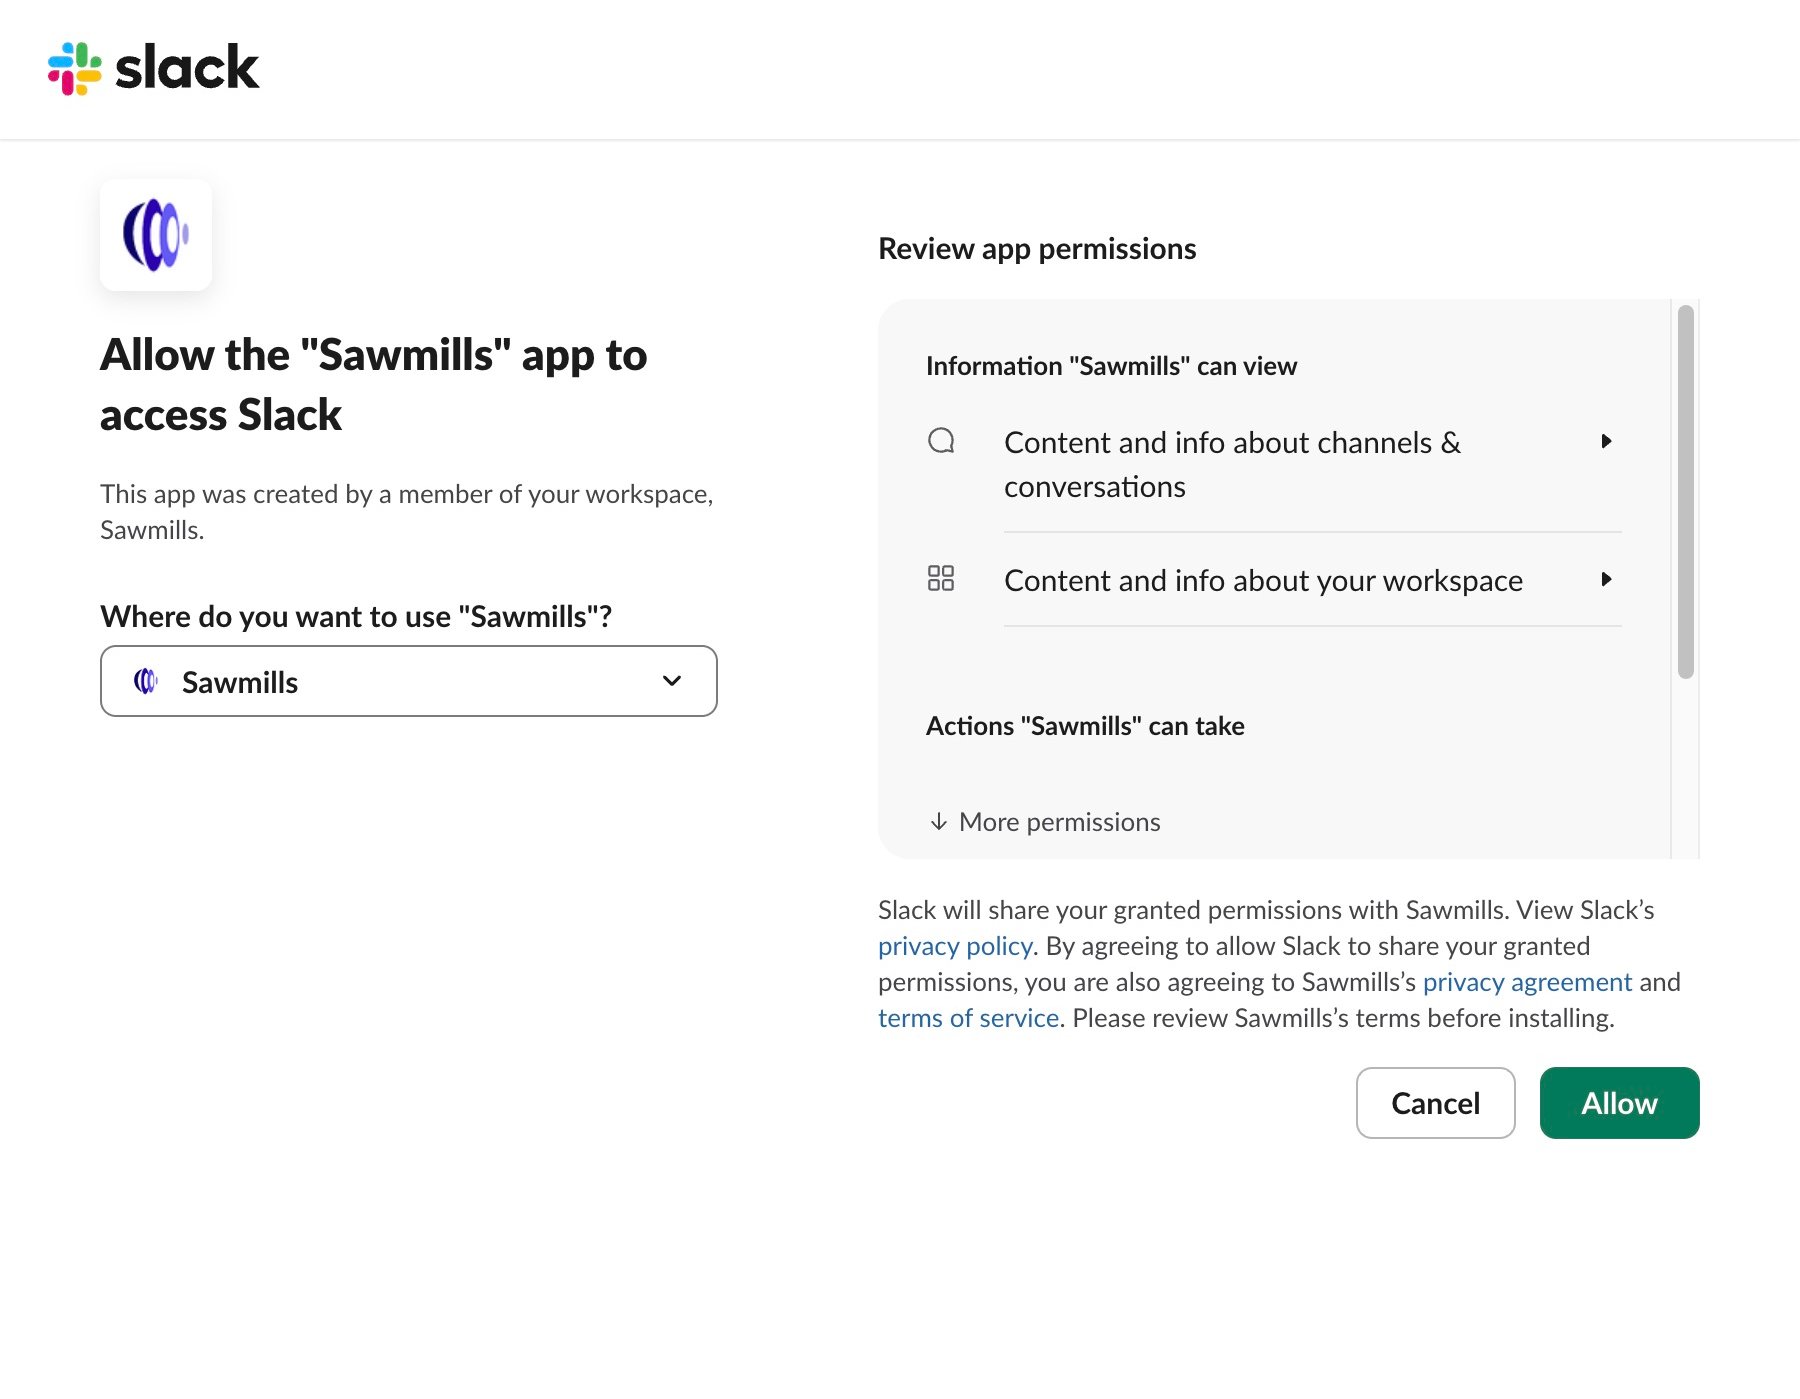
3. Configure and validate the channel
Open the Slack account configuration, choose a notification channel, and save. Use Validate to check the token and channel membership. Use Send test message to confirm delivery. Configure escalation and resolution notifications and the minimum severity appropriate for your team. The captured connection passed validation. Delivery is a separate check; this capture does not show a successful test-message delivery.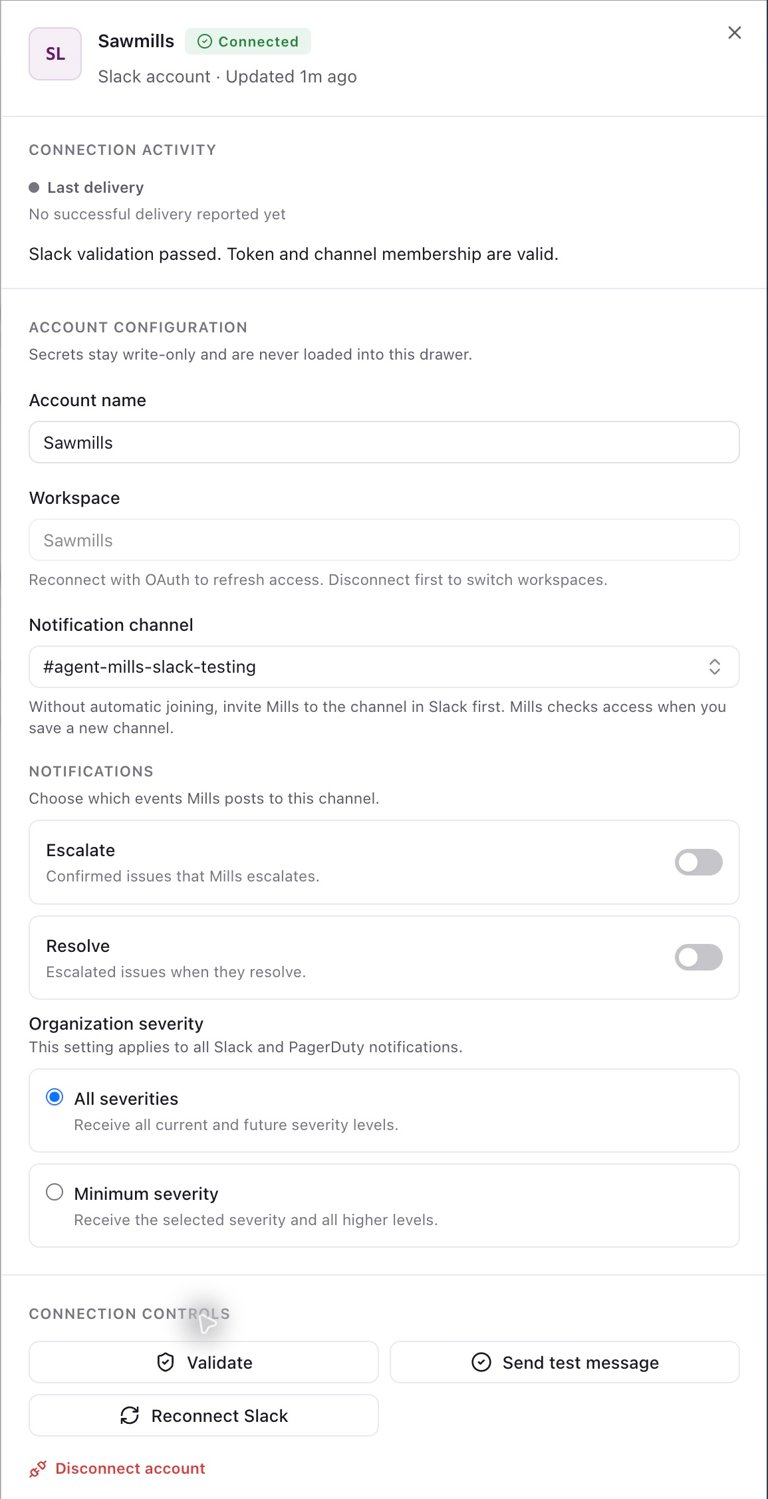
4. Investigate issues from Slack
An issue notification includes its severity, recorded signals, and an Open issue link to the full investigation in Mills. The investigation timeline records changes as the issue develops. The thread’s agent-context.json attachment provides investigation context for a coding agent. The following image is a sanitized, illustrative example of the Slack issue layout. Its text and timestamps have been replaced; it is not a live delivery record or customer telemetry.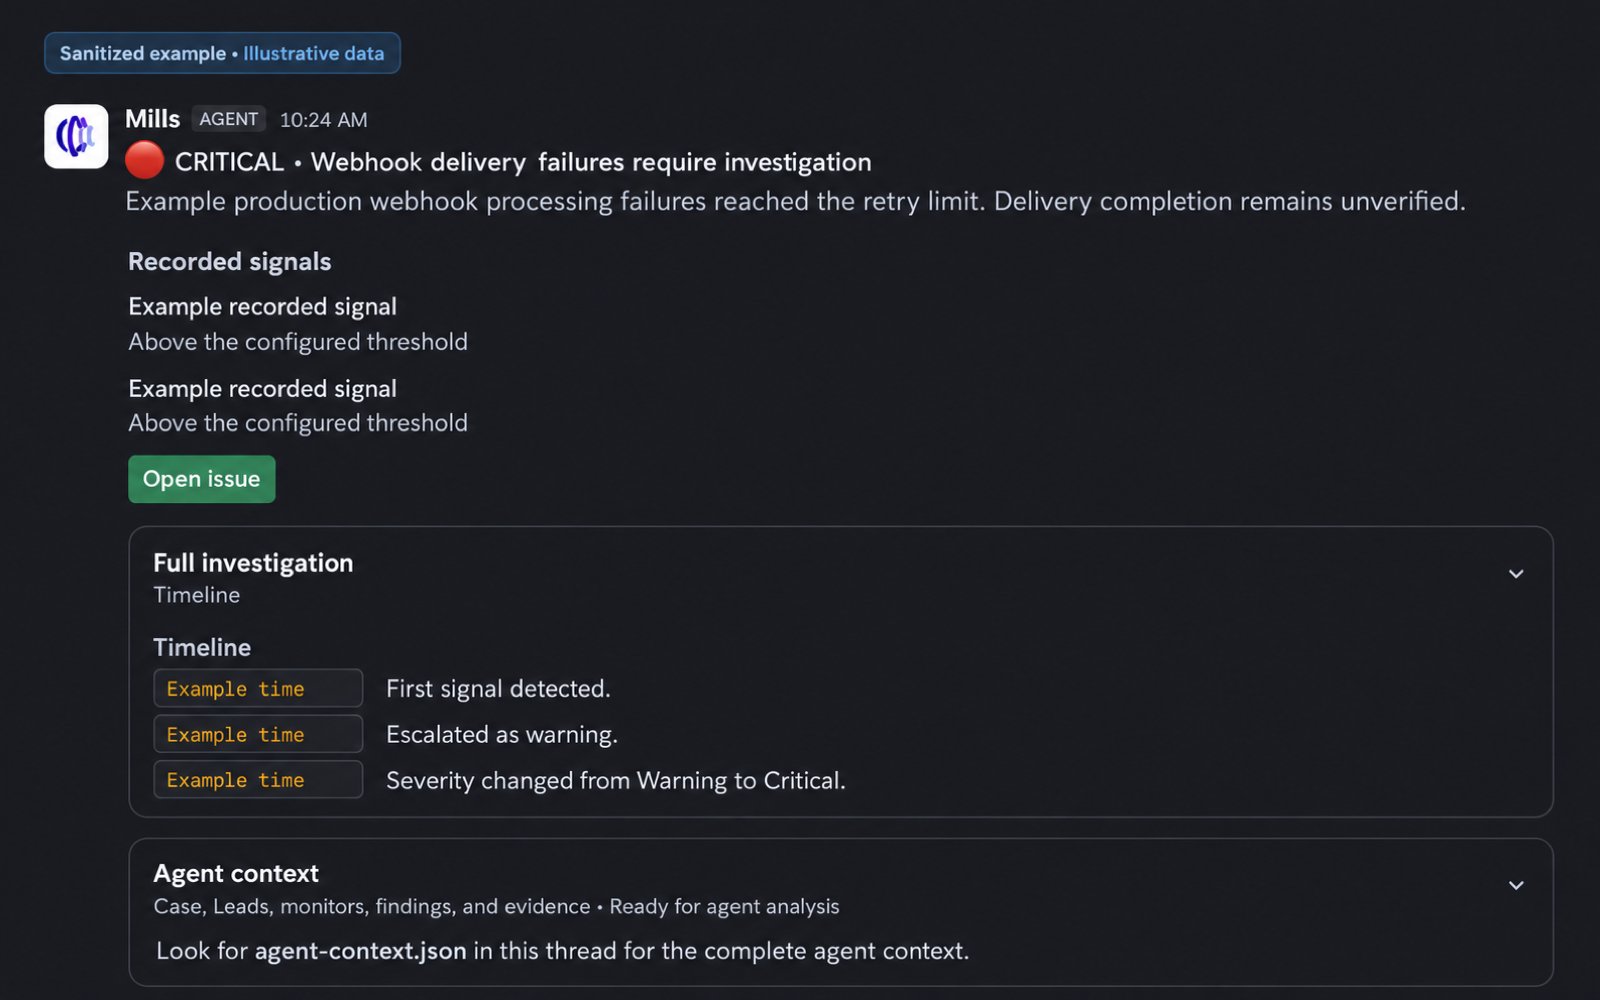
5. Continue the conversation
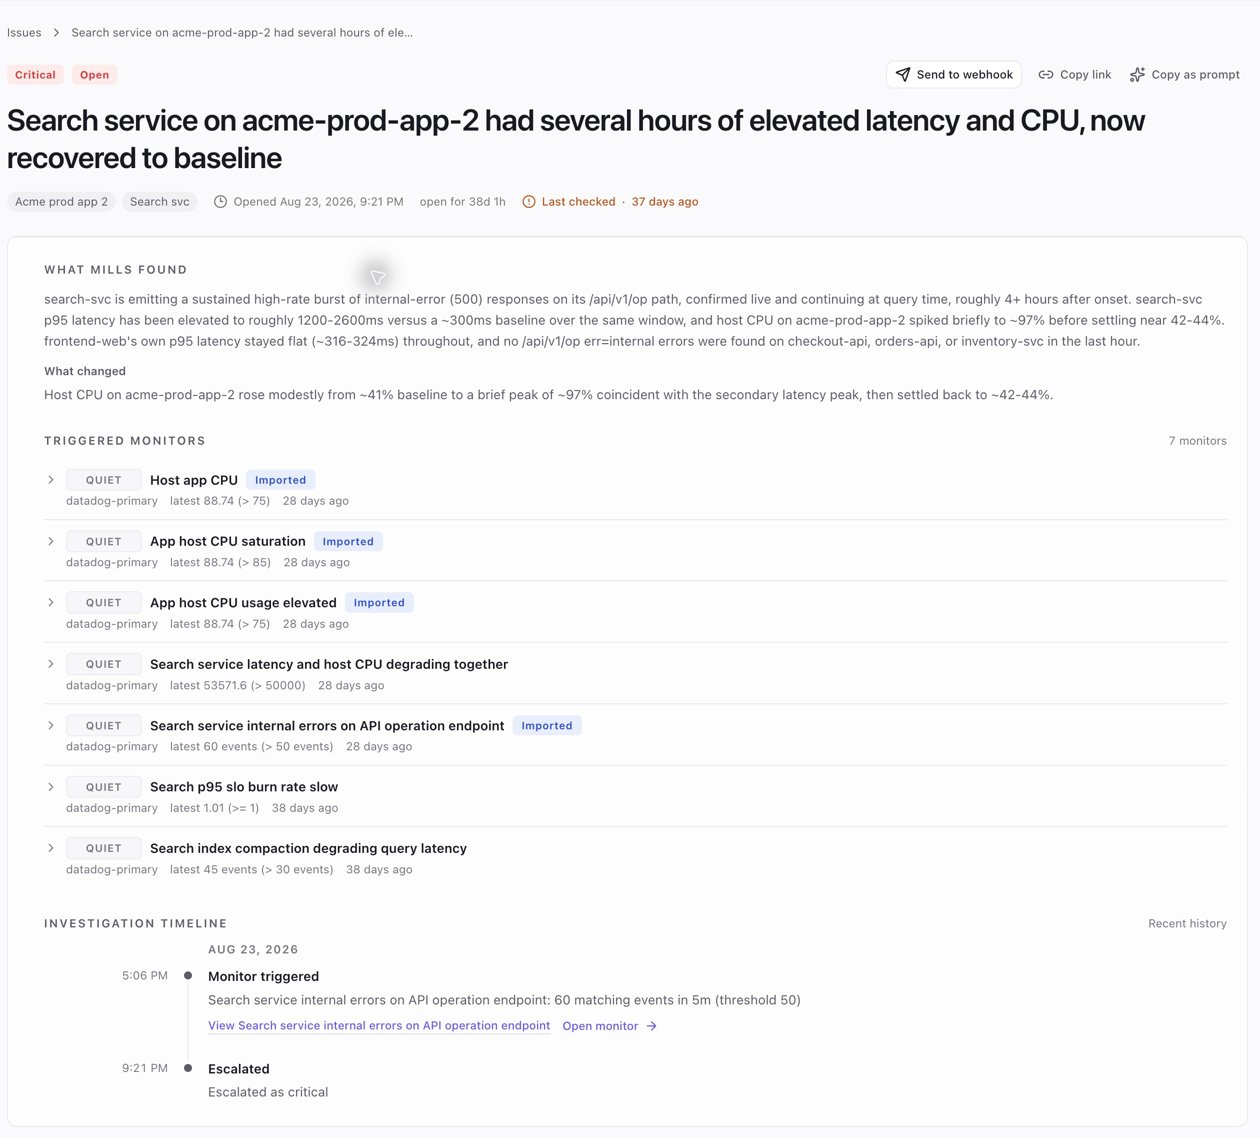
Following Open issue opens the investigation in Mills. This screenshot shows an existing Acme demo issue with its findings, triggered monitors, and timeline. It is historical demo data, not evidence of a currently running investigation.